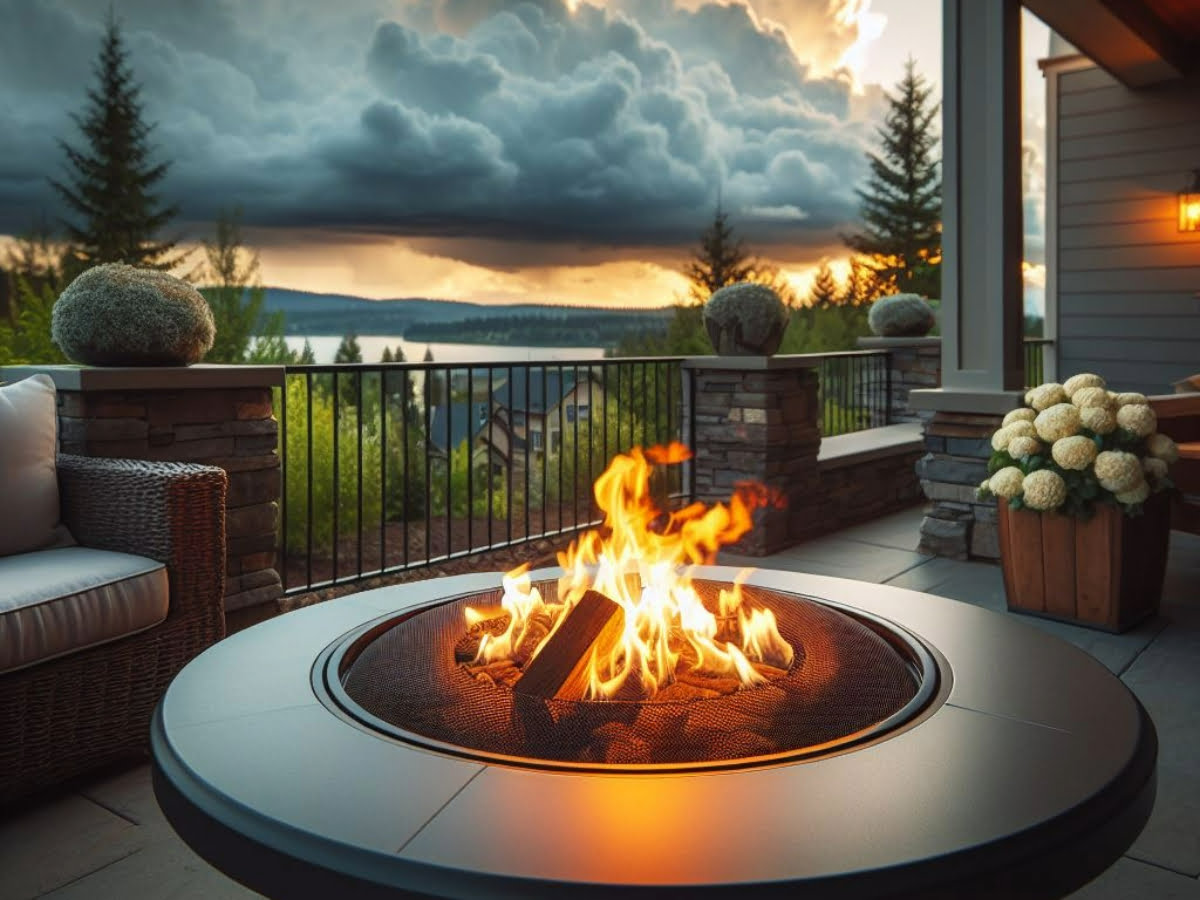
When it comes to enjoying a cozy evening outdoors, few things can beat the warmth and ambiance of a well-built fire. Knowing how to stack wood in a fire pit is crucial for creating a safe, efficient, and enjoyable fire. Properly stacking wood ensures optimal airflow, efficient burning, and minimal smoke, which can transform your fire pit experience from frustrating to wonderful. We’ll cover the best ways to stack wood in a fire pit in this guide, from traditional techniques like the Log Cabin and Teepee methods, to the more modern Top-Down approach. Our comprehensive guide will help you become an expert in stacking wood, regardless of whether you’re a seasoned fire pit enthusiast or a complete beginner.
The Right Wood:
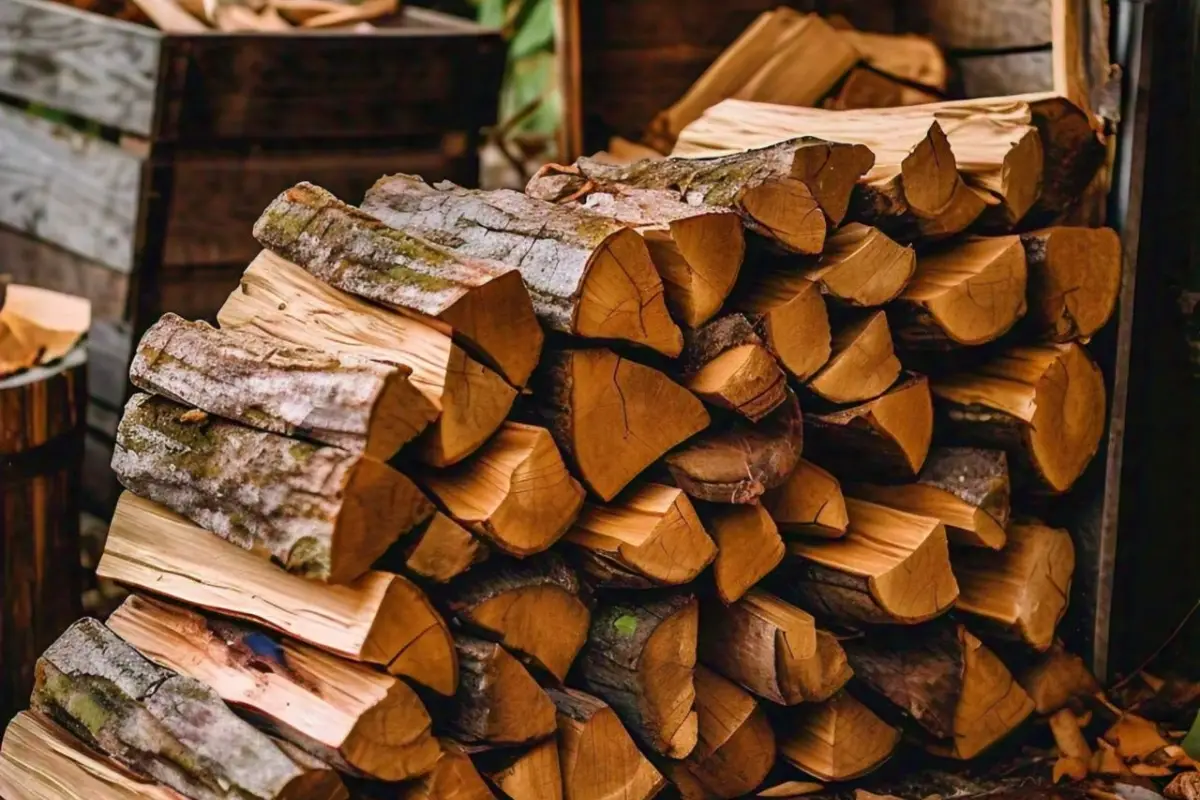
Picking the right kind of wood is key to creating an efficient and enjoyable fire in your fire pit. Hardwoods like oak, hickory, and maple are great choices as they burn hotter and longer than softwoods. Hardwoods produce less creosote and smoke, which means they are safer and more pleasant for gatherings. Softwoods like pine and spruce ignite quickly, but burn faster and create more smoke, ultimately leading to creosote build-up and potential chimney fires. Always check that your wood is well-seasoned. Wood should be dried for 6-12 months, removing the moisture and allowing for a cleaner and more efficient burn.
Stacking Techniques:
Proper wood stacking is important for creating an efficient and safe fire in your fire pit. A couple of popular wood stacking methods are the Log Cabin Method , Lean-to, Pyramid and the Teepee Method. Each method has its own pluses and minuses, which we will list in greater detail below.
1. The Log Cabin Method:
Lay the Foundation:
Begin by laying the framework of small logs that are parallel to one another along the base of the fire pit with spaces between them.
Build the Structure:
After the first layer of logs, place two more logs perpendicular to the first layer of parallel logs to make a square.
Incorporate Kindling and Tinder:
Combine all of the elements in the center of the structure with plenty of airflow to ensure that the kindling will ignite.
Final Adjustments:
Keep stacking logs on top of each other in alternating directions until you reach the height that you would like and that the structure is stable and has good airflow.
Advantages and Disadvantages:
Pros:
The Log Cabin Method offers superior airflow that helps the fire burn hotter and more efficiently. The structure is also very sturdy and can hold larger logs as the fire progresses.
Cons:
Constructing the Log Cabin Method may require additional time and energy in comparison to other fire-building methods, and the fire may take more time to get started because of the structure’s layout.
2. The Teepee Method:
Arrange Logs in a Teepee Shape:
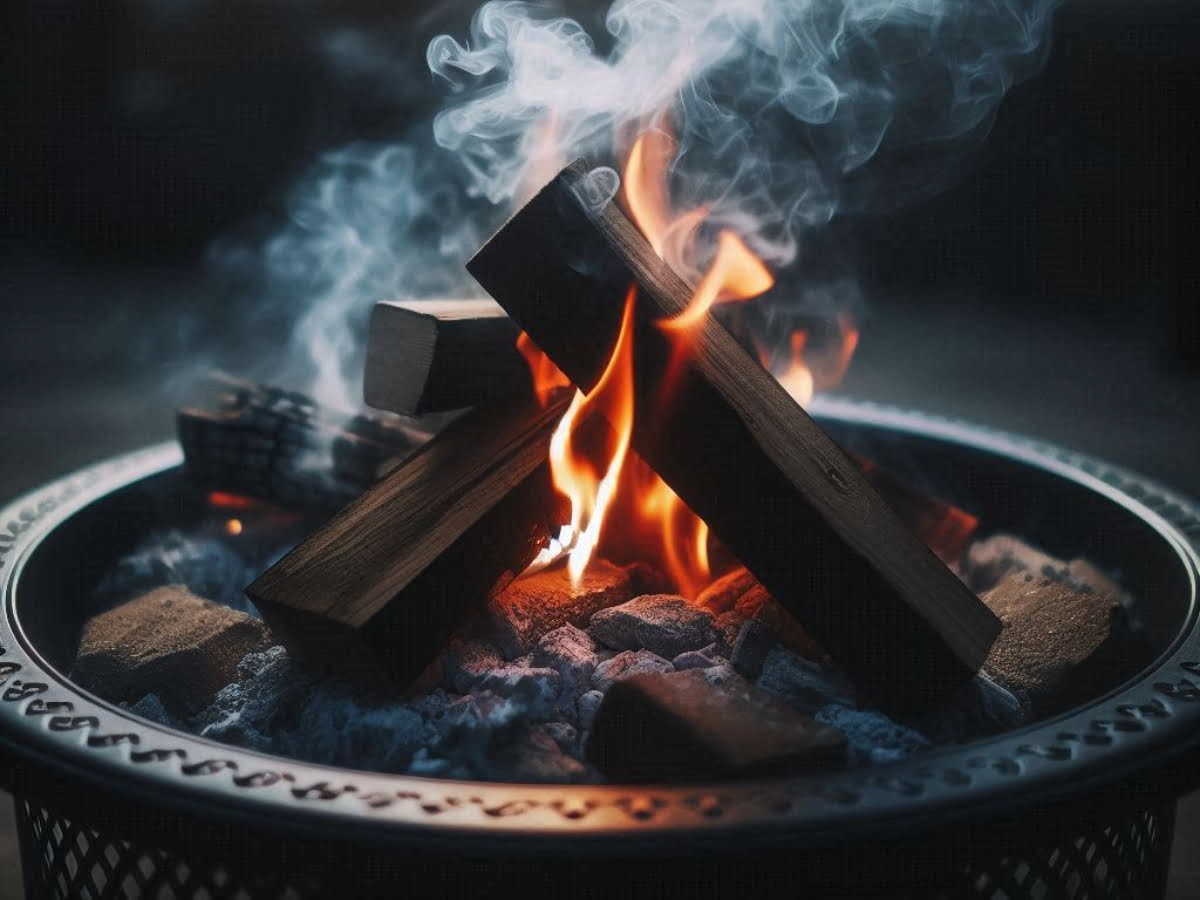
In the middle of your fire pit, create a tepee by arranging a small pile of tinder and kindling. Begin building a teepee or cone shape around the tinder with smaller logs.
Position Kindling and Tinder:
Make sure your stick of kindling and your fluff or tinder are placed at the bottom of your teepee in a way that will keep those items in an easily ignitable arrangement.
Maintain Balance and Airflow:
Make adjustments to the logs so the teepee balance is maintained and the logs have room for air to move around them.
Advantages and Disadvantages:
Pros:
The main benefit of the Teepee Method is how easy and fast it is to set up the fire, it has good airflow which allows it to burn rapidly and hot initially.
Cons:
The Teepee Method is less stable as the Log Cabin Method; furthermore, as it burns down it requires additional wood to be added and moved more frequently.
3. Lean-To Method:
Another way to stack wood in a fire pit is the Lean-To Method, which is useful in windy conditions, or when you need a quick set up.
Build the Base:
Construct the base by inserting one large log horizontally as the back of the fire pit.
Add Kindling and Tinder:
Placing kindling and tinder against the base log without smothering it, but make sure there is enough to catch the fire easily.
Lean Smaller Logs:
Lean smaller logs or sticks against the base log to build a slanted structure, however it is important to have components still covering the base log.
Ignition:
Light the tinder and kindling, and the flames will travel up the slanted structure of logs to light those as well..
Advantages and Disadvantages:
Pros:
The Lean-To Method is simple and quick to set up making it easy for the beginner. The structure can add some windbreak that means it works fairly well in windy conditions.
Cons:
There are some disadvantages when this stacking method is used compared to other methods; the reliance on careful log placement can lead to instability and a timely takeoff. This method also requires more frequent adjustments as the fire burns.
4. Pyramid Method:
The Pyramid Method, also known as the Upside Down Fire, is formed by interlocking logs in a pyramid shape, which allows for a longer, more efficient burn period.
Create the Base Layer:
Place the largest logs parallel to each other at the bottom of the fire pit.
Build Upwards:
Lay the next layer of logs perpendicular to the base layer. Continue stacking alternating layers in a manner that causes each log to be stacked perpendicular to the ones below, with each layer having smaller logs.
Add Kindling and Tinder:
Place kindling and tinder on the top layer of the pyramid.
Light the Fire:
Light the kindling and tinder on the top of the pyramid. The fire will burn down through the logs as each layer ignites the next set of logs.
Advantages and Disadvantages:
Pros:
The Pyramid Method creates a steady, long burn, as the fire will burn down through the logs, requiring less maintenance and wood adding for longer gatherings.
Cons:
The Pyramid Method takes longer to initially set up compared to the other stacking methods and because it starts from the top down it will likely take longer to reach the same intensity.
Lighting the Fire:
Starting a fire in your fire pit effectively begins with good preparation. It is firstly important to make sure your chosen tinder and kindling are dry and free of moisture. Studies have shown that dry materials light more easily and also burn cleaner. How your kindling is arranged is important because this will allow for good airflow. Whether you build in a Log Cabin, Teepee or another stacking method, you want to make sure it will allow for good airflow. Fire starters can also be used when building a fire for the first time. Newspaper, firelighters, or even small, dried twigs can help jump-start the fire by creating a reliable ignition point.
When lighting the kindling, look to ignite at multiple spots. Lighting from multiple spots will create a more even burn and help the fire develop faster. As the kindling is burning, you can slowly introduce larger pieces of kindling and small logs. You can keep adding additional larger pieces of kindling and logs to keep the fire going and remember always keep a little bit of airflow between the pieces of wood to help the fire burn.
Maintaining the Fire:
Now that your fire is going well, you want to be sure you are adding firewood at the proper time, maintaining the airflow, and managing the hot or cold spots of the fire are managed. Add firewood gradually to maintain a steady burn rather than adding it all at once. Place the new logs on the edge of the fire to pre-warm the wood, which can help maintain the heat, reduce smoke, and provide a cleaner burn.
After some time, the logs you have already added will likely need to be rearranged to provide enough airflow, which will help the fire burn more efficiently and reduce the need to remove ash that may be reducing the burn. Always keep an eye on the fire, ensuring the fire stays contained within the fire pit and move the logs around to help keep the fire contained. By following these tips, you can improve your fires longevity, enjoyment, safety, and efficiency.
