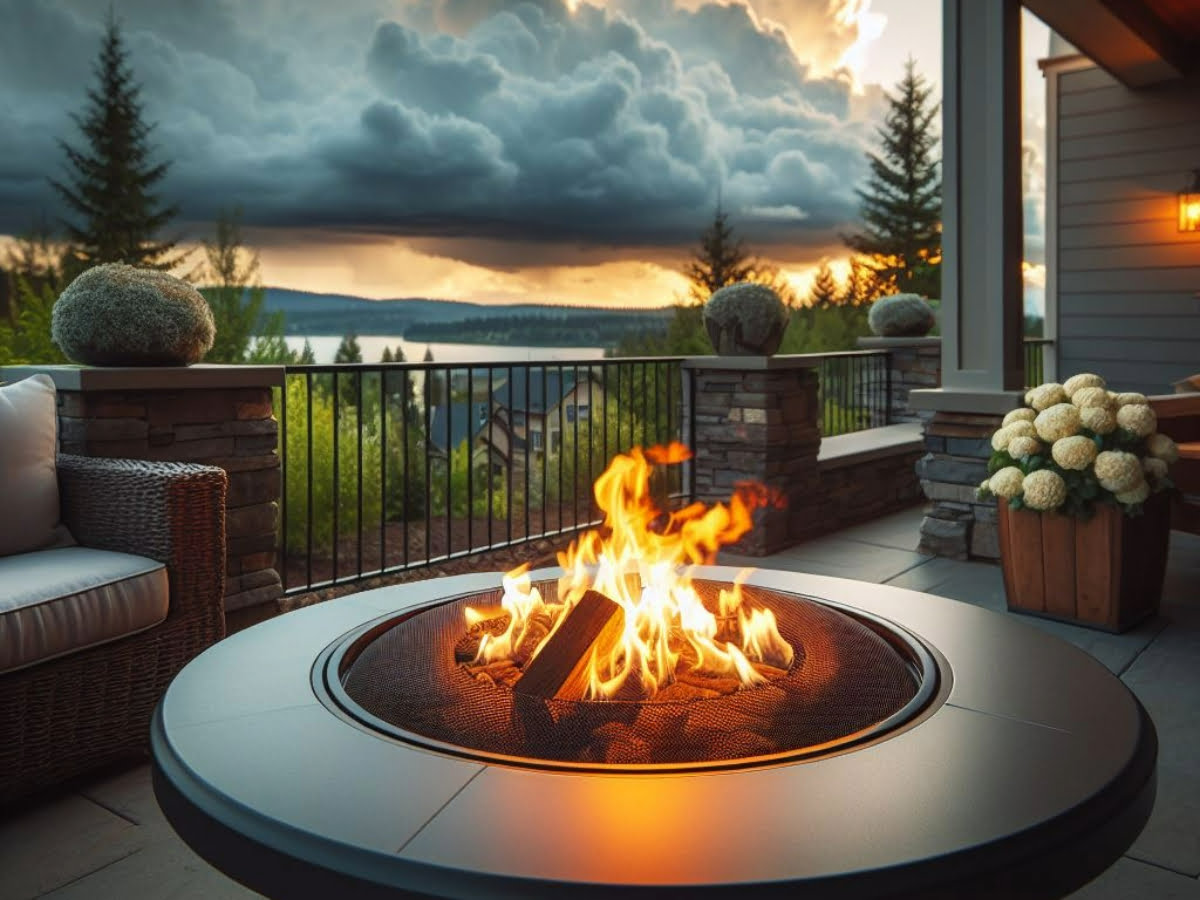
Building a wood burning fire pit is a satisfying choice for an outdoor living area. Our guide on how to make a wood burning fire pit will give you the steps and tips to make your project successful. It will take you from planning and selecting a spot to preparing materials and tools. Being an expert DIYer is not necessary, nor is being a beginner, by following the steps in our guide you will be able to build a functional, safe and visually appealing fire pit to entertain friends and family. When you are done with the guide, you will have the knowledge needed to make a fire pit that can be the focal point of your outdoor living space.
Planning and Design:
When you are learning how to build a wood burning fire pit, it’s best not to skip the proper planning and designing. Choosing the location in your backyard is the first decision you need to render. The location should be level, away from overhanging trees, structures or any flammable materials. Be sure to have enough space around the fire pit where you won’t have a tight squeeze when you are sitting by the fire pit or walking to it. Before starting, think about the size and shape of your fire pit. You can choose from different shapes, round, square and rectangular, that can have diameters of 3-6 feet. Think about how many people will be using the fire pit. You won’t want to have the fire pit so large that only a few people can sit around it, but you will also want to make sure you have enough space for a safe sociable party.
Prior to starting your project, make sure to check any local laws that regulate fire pits. Some cities require a permit for built in fire pits to make sure they are safely built. Follow these to avoid any penalties. Choose the materials that will line in your fire pit. Fireproof bricks or fireproof stones would be most suitable materials for constructing the walls of the fire pit due to their durability and ability to resist heat. A well-thought-out design and plan will ensure that your fire pit is functional, safe, and visually pleasing.
Materials and Tools Needed:
To make a wood-burning fire pit, gather the essential materials and tools beforehand. For materials, you will need fireproof bricks, or fireproof stones, to create the walls of the fire pit because they are heat resistant and durable. In addition, you would need gravel and sand for the base layer; they will help with stability and drainage. Mortar is necessary to hold the fire bricks or fire stone in place. If you want, you can use a metal fire pit ring to add durability and give your pit a shape.
The tools needed will be a shovel to dig the foundation, a level to make sure things are nice and even, and a trowel to apply the mortar. Finally, you will need a wheelbarrow to transport materials. One tool that you shouldn’t forget, and probably the most important, is the measuring tape; it’s very important to make sure everything is measured properly. Ensure you have all of the materials and tools listed, because it will make the building of the wood-burning fire pit go as smoothly as possible and help you construct a sturdy and safe wood burning fire pit.
COST:
While crafting and constructing a masonry fire pit, you can expect to spend around $200-$600 for a basic fire pit, with costs varying based on size, type of materials, and type of features. By planning your fire pit creation around the cost of the materials and potential number of features you want to add, you can effectively stay on budget.
| Item | Estimated Cost | Note |
| Fire Bricks or Stones | $2 – $10 per piece | Cost varies by quality and type |
| Gravel | $10 – $30 per cubic yard | Needed for the base layer |
| Sand | $10 – $30 per cubic yard | Used on top of the gravel layer |
| Mortar | $5 – $15 per bag | For securing bricks or stones |
| Metal Fire Pit Ring | $50 – $100 | Adds durability and support |
| Shovel | $10 – $25 | Essential for digging and placement |
| Level | $10 – $30 | Ensures even construction |
| Trowel | $5 – $15 | For applying mortar |
| Wheelbarrow | $50 – $100 | For transporting materials |
| Measuring Tape | $5 – $15 | For accurate measurements |
| Decorative Stones (Optional) | $50 – $150 | Enhances appearance around the fire pit |
| Total Estimated Cost | $200 – $600 | Depending on size, materials, and features |
While crafting and constructing a masonry fire pit, you can expect to spend around $200-$600 for a basic fire pit, with costs varying based on size, type of materials, and type of features. By planning your wooden fire pit creation around the cost of the materials and potential number of features you want to add, you can effectively stay on budget.
How to Build a Wood Burning Fire Pit: (Step-By-Step Guide)
Step 1: Mark the Fire Pit Area
Begin by selecting the appropriate location for the fire pit, which should be located away from buildings, trees, and any other combustible materials. Utilize stakes and string or spray paint to outline and establish the desired diameter of the fire pit. Fire pit diameters typically fall between 3 and 6 feet, depending on the available space and your desired outcome. Make sure to provide at least a 10-foot radius of clear space around the designated area. Additionally, Consider the flow of traffic in your yard and how the fire pit will align with the rest of your landscape. This step can help to prevent adjustments to your project later in the process and increase your overall satisfaction with the finalized project.
You should also be aware of the prevalent wind direction in your locale. The fire pit location can be adjusted based on the wind direction to minimize smoke from blowing in the direction of seating or other structures. A garden hose or measuring tape is effective in creating an exact circle, which should be double-checked for accuracy. The location of your fire pit and the precision of the circle are important details for planning a functional, enjoyable fire pit.
Step 2: Dig the Foundation
Next, dig within the marked area for a solid fire pit foundation. The fire pit base should be approximately 6-12 inches deep, which is deep enough to create a solid foundation for the fire pit and to contain the fire. While digging, be sure that your surface is flat and remove any remaining dirt, rocks or roots. The size of your fire pit and and the amount of material you plan to use for the base layer will dictate the exact depth and diameter of the hole that you need to dig. The excavation process is essential for keeping your fire pit steady and durable over time. Use a shovel or a spade to dig, and periodically measure the depth to ensure uniformity.
As you dig, place the soil you remove off to the side; you may want to use the dirt later for filling in low spots or leveling. Consider using a level to check the evenness of the hole’s bottom, making adjustments as necessary to create a uniform base. If you make sure that your hole is dug and level, you will ensure the structural integrity, stability and safety of your fire pit.
Step 3: Add the Base Layer
Fill the bottom of the dug out hole with a 4-inch coating of gravel as a base. Utilizing gravel aids in drainage; it will prevent the accumulation of H2O in the hole. Above the gravel, apply a 2-inch layer of sand. Sand provides the fire pit with a secure base and prevents slippage. Use a tamper or a flat piece of wood to compact the gravel and sand layers,, which will make the foundation solid and even. Including a base layer is necessary to maintain the stability and longevity of your fire pit. It is crucial to avoid water accumulation to avoid any oversaturation of the structure, which could cause erosion damage over time.
As you distribute the gravel, spread it consistently at the bottom of the hole and level it with a rake before compacting. After adding the sand, smooth it off with the back of a shovel or a trowel, and then compact it to make a flat, consistent surface. With a good foundation, your fire pit will be able to withstand the elements and test of time
Step 4: Construct the Fire Pit Walls
Start the build-up of the walls by placing fire bricks or stones around the perimeter of the base layer. Place the initial bricks or stones together tightly and level. Apply mortar to the bricks or stones to hold them tightly together for additional support. Continue stacking the bricks or stones, applying mortar as you go, until the walls reach your desired height, typically 12-24 inches. By building the fire pit wall layer by layer you will have a stable structure, one that will withstand heat.
When building the layers, it is important to check that each layer is level before adding another; periodically, take note of the wall height and alignment as you build. It is important to use a level to check for evenness. The amount of mortar should be consistent, enough to secure the bricks or stones but not so much that it will squish out excessively.

Step 5: Install the Metal Fire Pit Ring
Once the fire pit walls are constructed, it is time to place the metal fire pit ring inside the brick or stone circle. It will provide support for the walls, as well as aid in containing the fire. Make sure that the ring is level with the top of the fire pit walls, and fits snugly in place. Make any necessary adjustments to the bricks or stones surrounding the interior of the fire pit so that the ring fits perfectly, and is level with the top of the fire pit walls. The metal ring enhances the durability and safety of your fire pit as the high temperatures may cause the deterioration of the fire resistant bricks or stone.
Step 6: Finishing Touches
Once the fire pit ring has been installed, mortar should be used to fill in the gaps between the stones or bricks for a finished look. Spread the mortar evenly with a trowel after filling the gaps, for a clearer surface. It is optional to place decorative stones or pavers around the outer edge of the fire pit to dress it up. These finishing touches are more than just aesthetics, they also add stability to the structure. Wait at least 24 hours for the mortar to cure before using your fire pit.
If you want, add seating or other elements of landscaping around the fire pit to create an outdoor living area. Regular maintenance (removing ash and debris) will help to maintain the appearance of the fire pit. By taking these final steps, you will achieve a more refined result and a fire pit that is beautiful and functional for your backyard.

Mistakes to Avoid When Building Your Fire Pit:
Building a wood burning fire pit is an enjoyable project. However, to ensure a successful result, it is key to avoid some common mistakes that can cause the project to go south. A major mistake that can lead to problems is not planning the project or preparing the site properly. Positioning your fire pit in the incorrect location, not having the proper amount of clearance or following local ordinances can create a fire hazard and potentially have legal repercussions. It is important to make sure that the location of the fire pit is flat, not next to any flammable items and not near any trees. It is vital to ensure the clearance is adequate and review the information in your local fire codes or acquire the necessary permissions prior to beginning any work.
A second mistake that can cause problems is not correctly preparing the base. Skipping one of the layers of gravel and/or sand or not compacting the materials properly can result in an unstable base. Without proper drainage, water can accumulate, causing erosion and weakening the fire pit structure over time. Be sure the base is properly layered and compacted to provide a steady, hardy foundation. Finally, poorly applied mortar can lead to structural issues. Apply proper amounts of mortar and consistently spread the mortar between bricks or stones to avoid gaps and rocking. Paying attention to these details will help create a safe and long-lasting fire pit.
If you are considering to build a propane fire pit, make sure to read our blog “How to Make a Propane Fire Pit“

