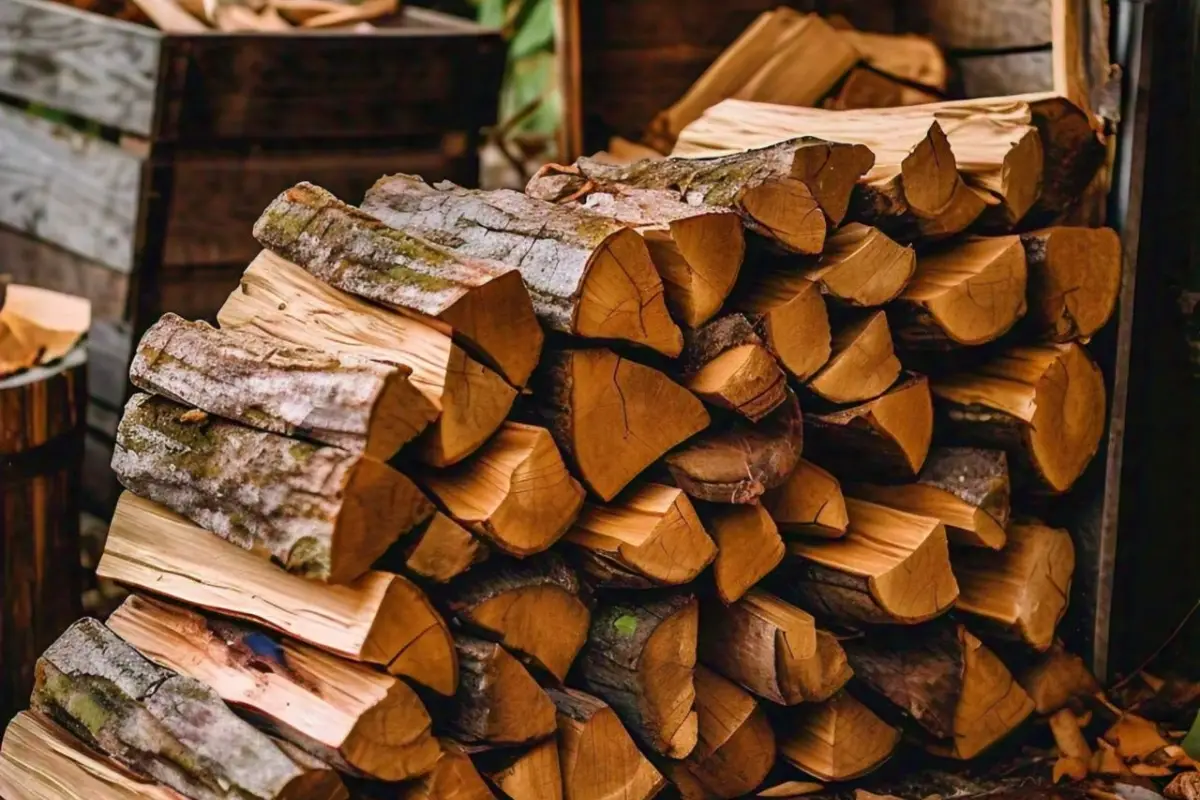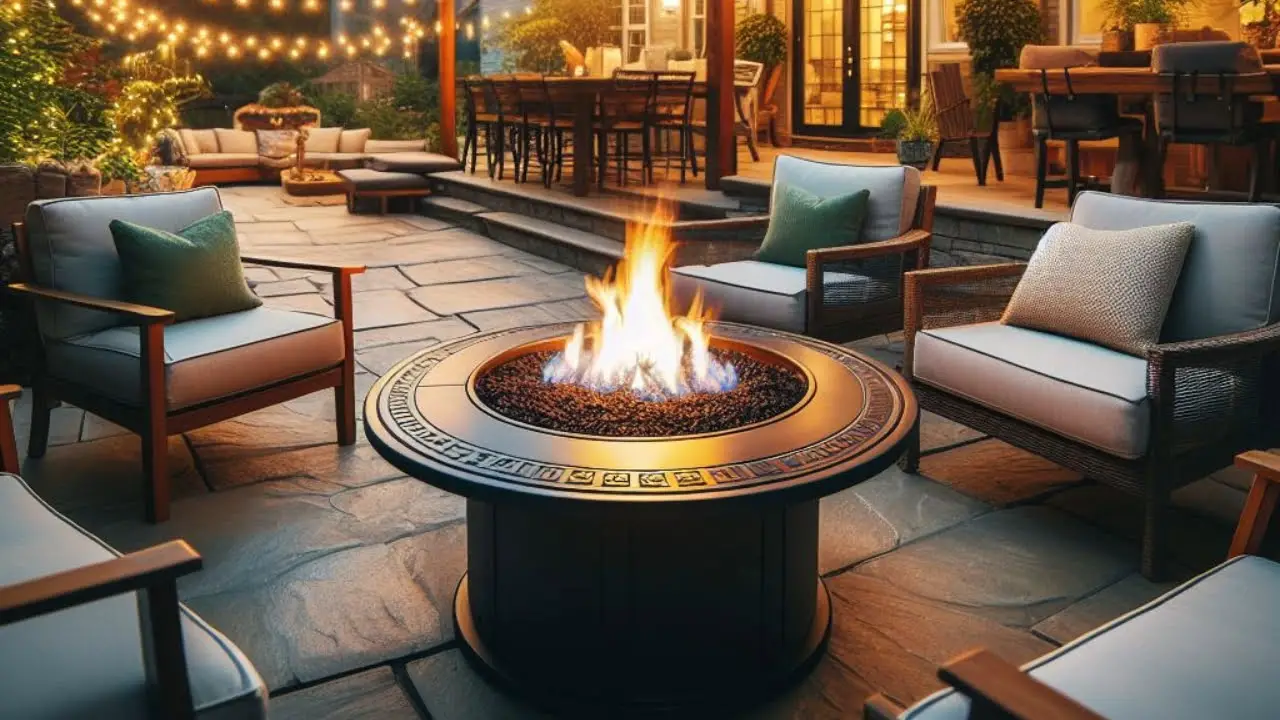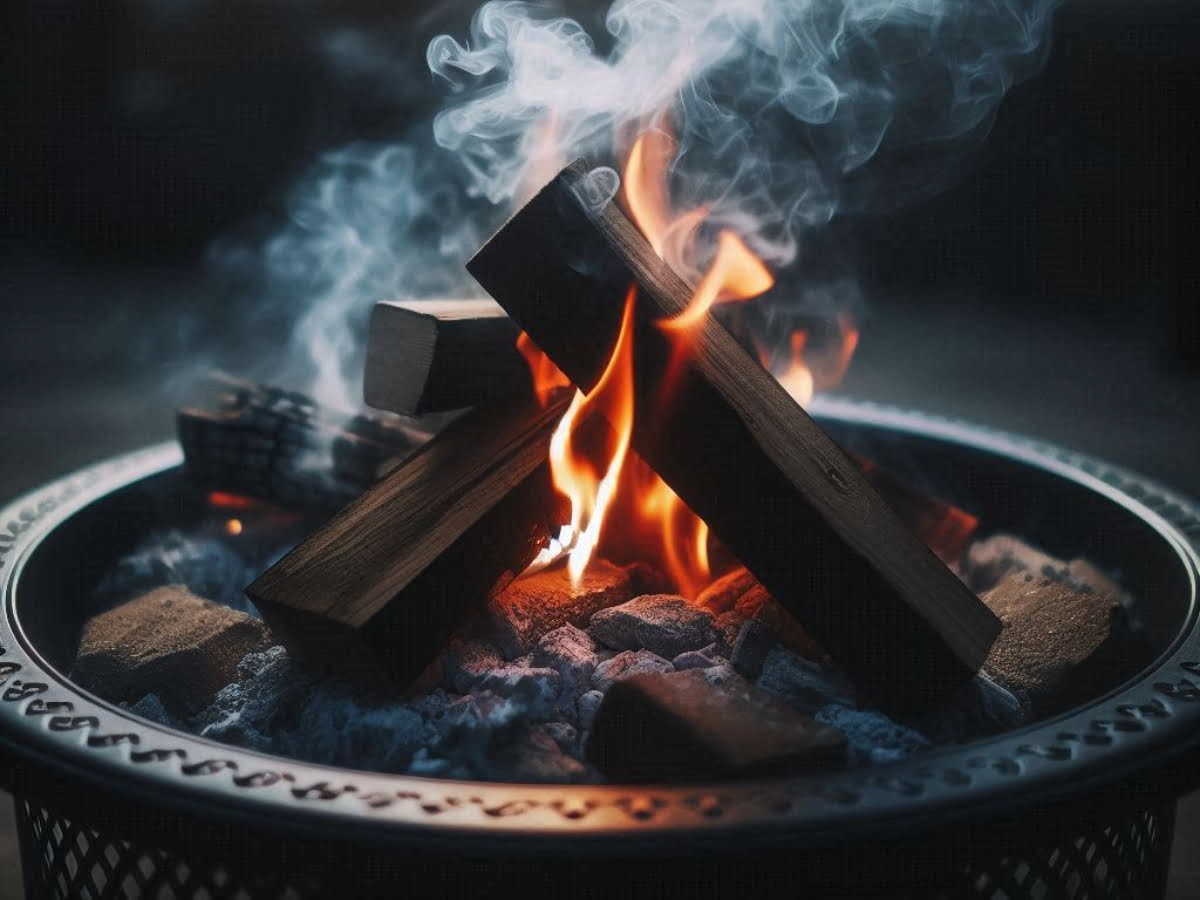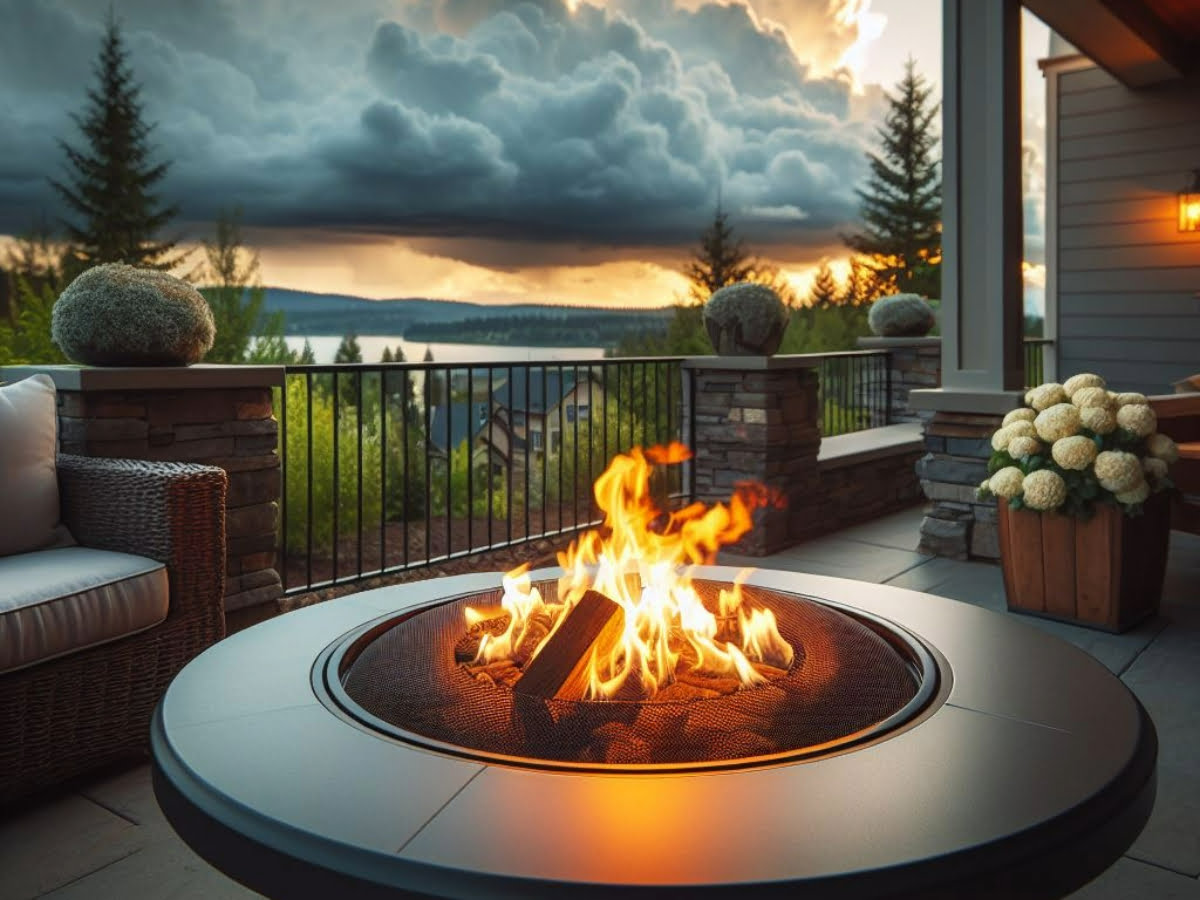
A cozy fire pit can offer a tranquil setting, but the smoke and soliciting wood do not always make for a calm experience. For those who want a fire experience that is easier, without wood, and does not have smoke, the question arises, can you convert a wood burning fire pit to propane? In this blog, we will explore converting a fire pit, including feasibility, safety considerations, and the DIY approach versus professional installation.
Can You Convert a Wood Burning Fire Pit to Propane?
Yes, you can convert a wood-burning fire pit to propane, and this is an easy way to get a better outdoor fire feature. Converting a fire pit to propane is generally done by installing a propane burner system into your existing fire pit frame and attaching it to a propane tank. This makes the conversion simple for getting the benefits of propane without having to completely replace your fire pit.
Benefits of Converting a Wood Burning Fire Pit to Propane:
Converting to propane brings numerous benefits to your outdoor living space. Firstly, propane fire pits are incredibly convenient—they ignite instantly and can be easily controlled with adjustable flame settings. This eliminates the hassle of gathering and storing firewood, making spontaneous fireside gatherings a breeze.
Another major benefit of propane fire pits is that propane is a very clean burn compared to wood, having little smoke and ash so there are not as many pollutants in the air. As well, propane fire pits require very little maintenance and clean up since the burn is so clean. Propane fire pits also keep safety in mind, having an automatic shut off valve for safer use, and outputting a consistent heat, or temperature, eliminating the typical risks connected with wood-burning fires.
Materials and Tools Needed for Conversion:
- Propane burner kit
- Propane tank
- Regulator
- Air mixer
- Fire pit pan (optional)
- Lava rocks or fire glass
- Drill and metal drill bits
- Wrench set
- Gas leak detector solution
Step-by-Step Guide to Conversion:
1. Preparing Your Fire Pit:
Before you start the conversion process, you need to prepare your current wood-burning fire pit. Firstly, thoroughly clean your fire pit by removing any ash, wood debris, or other remnants left from previous use. This will create a clean work area and prevent any obstructions when installing your propane components.
Then, inspect your fire pit for any damages or wear. Check for cracks, rust, or any structural irregularities that could potentially interrupt the safety and integrity of your fire pit. It is important to address any issues before converting your wood-burning fire pit to a propane fire pit. Make sure your pit is structurally sound and can support the propane setup you’re installing.
2. Installing the Propane Burner:
With your fire pit clean and visually inspected, you can start installing the propane burner. Place the burner in the center of your fire pit as level as possible. Leveling your burner is crucial to get an even flame distribution and optimizes performance.
If you have a fire pit pan in your fire pit design, place the burner inside the pan before putting it in your fire pit. Having a fire pit pan is beneficial as it supports and contains the burner and also distributes heat better, making your fire pit more efficient and aesthetically pleasing.
3. Drilling Access Holes:
To install a propane line to your fire pit, you will need to drill access holes in the side walls of your fire pit. The holes should be large enough for the gas line but not too big to put added stress on the gas line or damage it. It is important to be careful when drilling the hole and not damage the structure of your fire pit.
After drilling, you should also smooth the edges of the hole. Spurred edges can damage the gas line over time which could cause a leak or other safety hazards. Use a file or sandpaper to even out the edges and provide a smooth path for the gas line.
4. Attaching the Air Mixer:
The air mixer is a critical part of the conversion process, as it provides the right air to gas ratio for clean and efficient burns. Attach the air mixer to the propane burner. Securely attaching the air mixer will help to minimize soot and carbon buildup, leading to a cleaner and more efficient flame. You can get more information in our dedicated blog here “Do I Need an Air Mixer for Propane Fire Pit“.
5. Connecting the Burner to the Gas Line:
Connect the propane burner to the gas line using the appropriate fittings. It is important to use the correct fittings, as specified in the installation kit instructions, to ensure a proper connection. Securely fasten using a wrench all around. Any loose connections can result in gas leaks, which are dangerous.
6. Installing the Regulator:
The regulator is necessary to moderate the pressure of propane gas from the tank to the burner. Install the regulator to the tank of propane, and securely fasten the connections to prevent leaks. This regulator ensures that gas flows consistently and safely at all times, even in scenarios where pressure irregularities could cause issues with regards to safety.
7. Attaching the Control Valve:
Before attaching the control valve, ensure every part is lined up according to the specifications. The control valve can help to adjust the flame height and intensity precisely, which is important for optimizing the operation of your fire pit. Securely attach the control valve to the gas line with the appropriate fittings. Make sure the fittings are tightened firmly enough. Put the control valve at a convenient location to make it easy to adjust during use. Be sure to double-check your connections to make sure they are free of any leaks before powering up your propane fire pit.
8. Connecting to the Propane Tank:
With all components installed and knowing you followed the steps, you are ready to connect the gas line to the propane tank. Be certain that every connection is tight. Make sure you double-check all the connections to prevent or avoid any potential leaks. A proper connection will be necessary for a safe and productive use of your propane fire pit.
9. Testing for Leaks:
It is important that you check for any gas leaks. A gas leak detector solution must be applied to all connections. This solution will help in identifying leaks by creating bubbles right where the leak is occurring. After barely turning on the propane tank valve, keep an eye out for bubbles. If you notice bubbles where the connection is, tighten the connection more. Keep testing and tightening the connections until the bubbles disappear and the connection is secure.
10. Adding Fire Media:
Place fire media such as fire glass or lava rocks around the burner. This will improve the overall look of the fire pit and provide a better distribution of the flame. Decide whether you would prefer lava rocks or fire glass according to your tastes. Place the filler materials around the burner equally, but do not allow any coverage of the actual burner holes to maintain the proper flame dispersion and to avoid any blockage. With these detailed instructions, you can convert your wood-burning fire pit to propane to have a cleaner, safer, and easier experience outdoors. You can read detail guides here:
How to Place Lava Rocks in Propane Fire Pit
How to Place Glass Rocks in Propane Fire Pit
With these detailed instructions, you can convert your wood-burning fire pit to propane to have a cleaner, safer, and easier experience outdoors.
Cost Estimation:
Breakdown of Costs for Materials:
- Propane Burner Kit: Prices for propane burner kits vary between $150 to $500 or more, depending on the size and efficiency of the burner kit.
- Propane Tank: A standard 20-pound propane tank costs between $30 to $50. Larger propane tanks can be increased in size to provide increased usage time, but these tanks generally incur a higher cost
- Regulator: Regulator Expect to spend between $20 to $50 on a high-quality regulator to control the flow of propane from the tank to the burner.
- Air Mixer: Prices typically range from $20 to $50, ensuring the correct air-to-gas ratio for efficient combustion.
- Fire Pit Pan (Optional): Fire pit pans have pricing that varies considerably based on the size of the fire pits as well as the material the pan is made from, but generally range between $50 to $200 or more.
- Lava Rocks or Fire Glass: Lava Rocks or Fire Glass Budget approximately between $20 to $100 to add some fire media to improve the overall look and heat distribution of your fire pit.
Estimated Costs for Professional Installation:
For the safest and best performance of a fire pit application, we recommend that you hire a professional to do the install. Typically, professional installation costs between $300 to $1,000 depending on the location and complexity of requirements and the contractor’s rates. This additional expense provides for the security of hiring an expert to manage doing the install, and supervise local code compliance, testing and performance.
This could be considered a simple conversion project, but for the best performance, safety, and code compliance, we recommend working with a professional installer. By allowing a professional installer to manage this for you, they will be able to assure that everything is completed (installed) properly and in compliance to local code and that the end result is a safe and enjoyable outdoor fire pit experience.
Conclusion:
Transforming your wood burning fire pit to a propane outdoor fire bowl is a great first step in Your outdoor living. You’ll see that the benefits of the conversion are worth it as it is a way to modernize and upgrade Your patio and outdoor experience. However, if you like to take on a small project, followed a few simple steps, and obtain a few new items with some specific tools, you can have one of those modern looking, with a propane powered, outdoor heating sources that you’ll be very pleased with. However, we do suggest that you get a professional to install the unit, and keep things safe, especially during the first use.
If you are considering to convert your propane fire pit to wood fire pit, make sure to read our blog “Can a Propane Fire Pit be Converted to Wood Burning One“.
