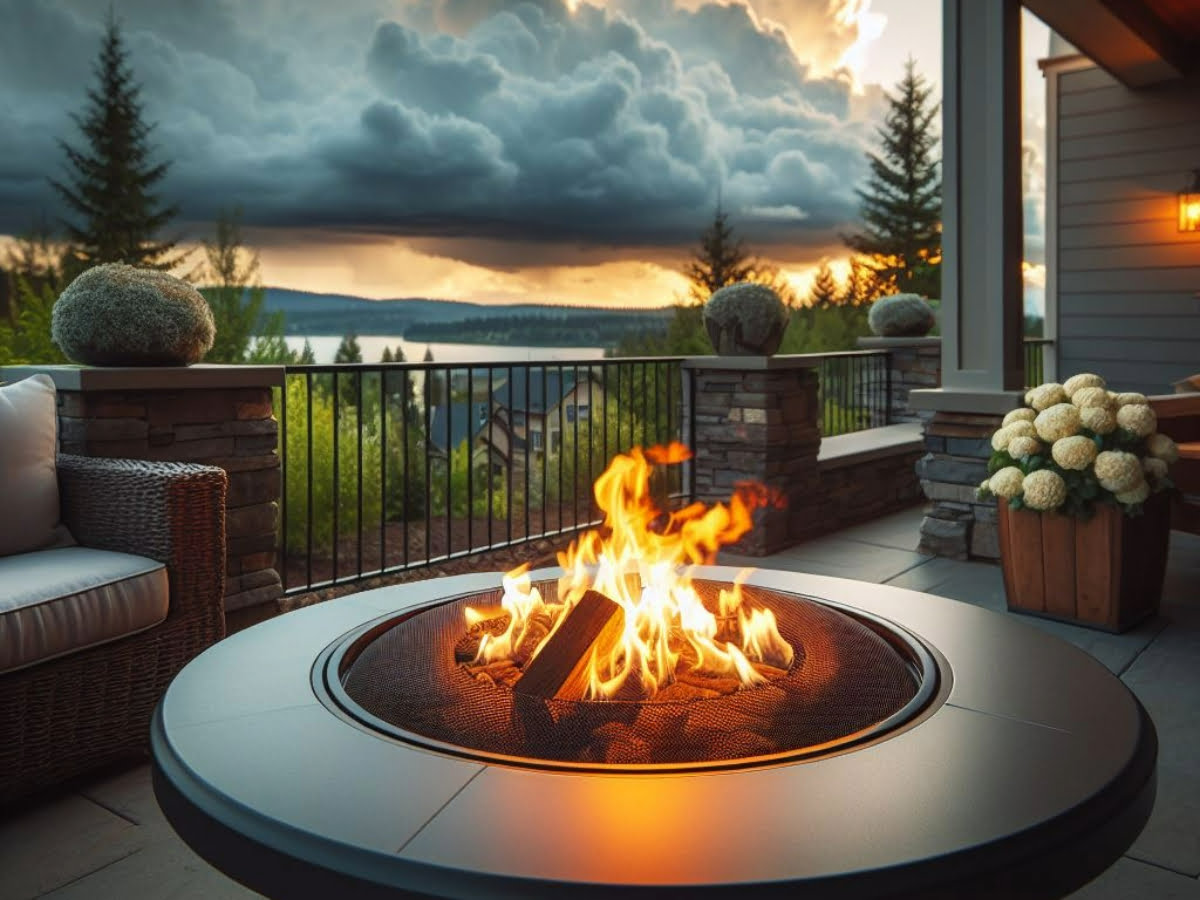
How to Make a Propane Fire Pit in 2024 : Step by Step Guide

The trend of propane fire pits has been on the rise among homeowners and nature enthusiasts due to their ease of use, flexibility and visual appeal. A key advantage of propane fire pits lies in their convenience. By using propane as fuel there’s no need to worry about storing or transporting logs or constantly monitoring the flames. These fire pits can be built easily. Adjusted to achieve your ideal flame height and intensity, making them perfect for spontaneous gatherings or relaxing outdoor evenings. Learning how to make a propane fire pit is the perfect way to achieve all these benefits and add warmth and ambiance to your backyard or patio.
Materials and Tools: A Complete Checklist
Before you start your DIY project to build a propane fire pit, it’s important to gather all the materials and tools. Here is a detailed checklist to help you kick off your project;
Materials
1. Fire Pit Kit or Components
Depending on your style preferences you can choose between a ready made fire pit kit or buy individual components like a burner ring, pan and ignition system separately.
2. Propane Tank
Pick a propane tank that suits the size and usage frequency of your fire pit. Consider factors such as the size of the pit and how often you’ll be using it.
3. Gas Line
Get a flexible gas line long enough to connect your propane tank to the fire pit burner. Make sure that it’s compatible with propane and rated for outdoor use.
4. Gas Regulator
Invest in a good quality gas regulator to control the propane flow from the tank to the fire pit burner. Choose one with the adequate pressure rating for your setup.
5. Burner Assembly
Choose a burner assembly that matches your fire pits size and design. This usually includes a burner ring, pan, control valve and ignition system.
6. Materials for Building
Different designs may require items like bricks, paving stones, concrete blocks or metal sheets to build the foundation and walls of your fire pit.
7. Bonding Agent or Cement
Use adhesive or mortar to bind the construction materials together and establish a framework for your fire pit.
8. Fire Media
Choose fire media such as lava rocks, fire glass, or ceramic logs to fill the fire pit pan and enhance the appearance of the flames.
9. Safety Equipment
Don’t forget essential safety equipment such as gloves, safety glasses, and a fire extinguisher to protect yourself during the construction process.
Essential Tools
1. Measuring Tape
Use a measuring tape to get measurements and ensure components fit correctly.
2. Level
Make sure your fire pit is properly aligned and balanced with the help of a level.
3. Adjustable Wrench
An adjustable wrench comes in handy for tightening nuts and bolts during assembly.
4. Pipe Wrench
Secure gas line fittings and connections with a pipe wrench.
5. Drill with Masonry Bit
If using bricks or concrete blocks you’ll need a drill with a masonry bit to create holes for the gas line and drainage.
6. Trowel
Use a trowel for applying mortar or adhesive when building the fire pit.
7. Safety Gear
Protect yourself by wearing gloves and safety glasses while working on the project to avoid injuries.
Having all materials and tools before starting will help you streamline the construction process without any hiccups. Be prepared in advance to ensure progress on your DIY propane fire pit project.

Burner Assembly and Ignition Systems: Key Components Demystified
The burner assembly and ignition system are essential components of a propane fire pit, responsible for generating and controlling the flames.
When you understand how these essential parts function you can make informed choices when constructing or picking a propane fire pit for your area.
Burner Assembly
The burner assembly serves as the core of the propane fire pit playing a major role in dispersing propane and creating flames. It typically comprises elements such as;
1. Burner Ring
This metal ring, either circular or square shaped is equipped with spaced burner ports. It ensures propane is distributed uniformly across the surface resulting in a flame pattern.
2. Burner Pan
Positioned below the burner ring the burner pan collects any propane that is not immediately burned. This feature helps prevent fuel accumulation and promotes combustion.
3. Control Valve
Responsible for regulating the propane flow from the tank to the burner assembly, the control valve usually includes a knob or lever, for adjusting flame height and intensity.
Ignition System
The ignition system’s role is to ignite the propane and start the flames. Various types of ignition systems are available including:
1. Manual Ignition
In this ignition system, users need to light the propane manually using a match or lighter.
2. Electronic Ignition
Electronic ignition systems utilize sparks or electric pulses to ignite the propane gas. They come with easy to use push button controls and are perfect for effortless lighting.
3. Pilot Light
Certain propane fire pits come equipped with a pilot light that stays lit at all times standing by to ignite the burner whenever required. While pilot lights ensure ignition they do use up an amount of propane even when the fire pit is not being used.
Understanding the components of the burner assembly can help you choose the right setup for your propane fire pit and ensure optimal performance and reliability.
Gas Line Installation: Ensuring a Safe and Secure Connection
Setting up the gas line for a propane fire pit is crucial as it requires attention to guarantee a secure and safe connection. Here are some steps to follow for installing the gas line:
Choose the Right Spot:
Select a location for both the propane tank and fire pit making sure there’s easy access and proper ventilation. Keep the tank at a distance from the fire pit and any flammable objects or structures.
Check Local Regulations:
Before installing the gas line, check local building codes and regulations to ensure compliance with setback requirements and safety standards. Obtain any required permits or approvals before moving with the installation.
Gather Materials and Tools:
Gather all materials and tools needed for installing the gas line such as a flexible gas line, fittings, connectors, pipe wrenches and thread sealant.
Measure and Cut the Gas Line:
Measure the distance from the propane tank to the fire pit to determine how long your gas line should be. Use a pipe cutter to make a cut at that length ensuring it’s clean and straight.
Prepare Fittings:
Before assembling the gas line, prepare the fittings by applying thread sealant to the threads. This helps create a secure, leak-proof connection between the fittings and connectors.
Assemble the Gas Line:
To set up the gas line attach the fittings and connectors to the gas lines ends, making sure they fit snugly and securely. Use pipe wrenches to tighten the fittings, being cautious not to overtighten and harm the threads.
Install the Gas Line:
Carefully route the gas line from the propane tank to the fire pit burner assembly once you have finished the construction of fire pit. Secure it in place with clamps or straps as needed avoiding bends that could block the propane flow and lead to leaks.
Test for leaks:
After installing the gas line check for leaks to guarantee a connection. Use a soap water solution on the fittings and connectors, watching for bubbles that signal a leak. If you find one, turn off the gas supply immediately and tighten the affected fittings.
Secure the Gas Line:
Once you’ve verified there are no leaks, secure the gas line in its position using clamps or straps. Ensure that the gas line is protected from damage and tampering to prevent accidents or leaks.
Final Inspection:
Before moving on with building your propane fire pit do an inspection of the gas line installation. Ensure everything is properly connected and secured, looking out for any damage or wear that may require adjustments or repairs.
By adhering to these tips and recommended methods you can guarantee a reliable gas line setup for your propane fire pit offering reassurance and consistent functionality for the haul.

Step-by-Step Guide: Building Your DIY Propane Fire Pit
Crafting your DIY propane fire pit is an endeavor that can elevate your outdoor space and provide countless moments of relaxation. Here’s how you can make your fire pit;
Step 1: Select a Spot
Start by picking out the perfect spot for your propane fire pit. Find an area that’s clear of anything flammable, buildings or branches hanging overhead. Make sure to follow rules and safety guidelines to meet setbacks and standards.
Step 2: Prepare the Site
Prepare the area where you intend to construct your fire pit by clearing and levelling it. Remove any debris, plants or objects that might obstruct the building process. Use tools like a shovel, rake or tamper to smooth out the ground and create a base for your fire pit.
Step 3: Construct the Base
Build the foundation of your fire pit based on your selected design using bricks, paving stones, concrete blocks or metal sheets. Arrange these materials in a square or circle pattern with a space at the center for the burner assembly. Use adhesive or mortar to secure them together and form a structure.
Step 4: Install the Gas line
Install the gas line carefully from the propane tank to the burner assembly of your fire pit. Adhere to the instructions provided in the previous heading. Follow all safety precautions for setup and connection of the gas line. Secure the fittings and connections using a pipe wrench to ensure a stable connection.
Step 5: Assemble the Burner
Follow the manufacturers guidelines to assemble the burner components such, as the burner ring, pan, control valve and ignition system. Position the burner assembly at the center of the fire pit base, making sure it is level and correctly positioned.
Step 6: Add Fire Elements
To enhance the flames appearance and distribute heat evenly fill the fire pit pan with fire elements, like lava rocks, fire glass or ceramic logs. Make sure to arrange the fire elements around the burner assembly to cover the pan surface.
Step 7: Check for Gas Leaks
Before lighting the fire pit check for gas leaks in the gas line to ensure a secure connection. Apply a soapy water solution on fittings and connectors and look for bubbles that could indicate a leak. If you find any leaks immediately turn off the gas supply.\
Step 8: Light up the Fire
Once you’ve confirmed there are no leaks, light the fire pit. Use the control valve to adjust flame height and intensity as per your preference. Enjoy warmth and ambiance with loved ones, around your set up propane fire pit.
Step 9: Maintain and Joy
Regular maintenance is crucial to keep your propane fire pit performing. Clean the burner assembly and fire elements regularly to remove debris and maintain best performance. Make sure to store propane tanks safely when they’re not in use and always follow safety guidelines when using the fire pit.
By following these step-by-step instructions, you can successfully build your DIY propane fire pit and establish a warm outdoor area for gatherings all year round.

Enhancements and Accessories: Take Your Fire Pit to the Next Level
To enhance your propane fire pit, consider adding accessories and features that can improve its functionality, appearance and overall experience. Whether you want to enhance the ambiance or add convenience and comfort there are options to maximize your fire pit experience. Some popular enhancements include using fire glass as an alternative to fire media, like lava rocks or ceramic logs.
Fire Glass:
Fire glass comes in colors and shapes enhancing the elegance and allure of your fire pit by reflecting and enhancing the flames.
Seating:
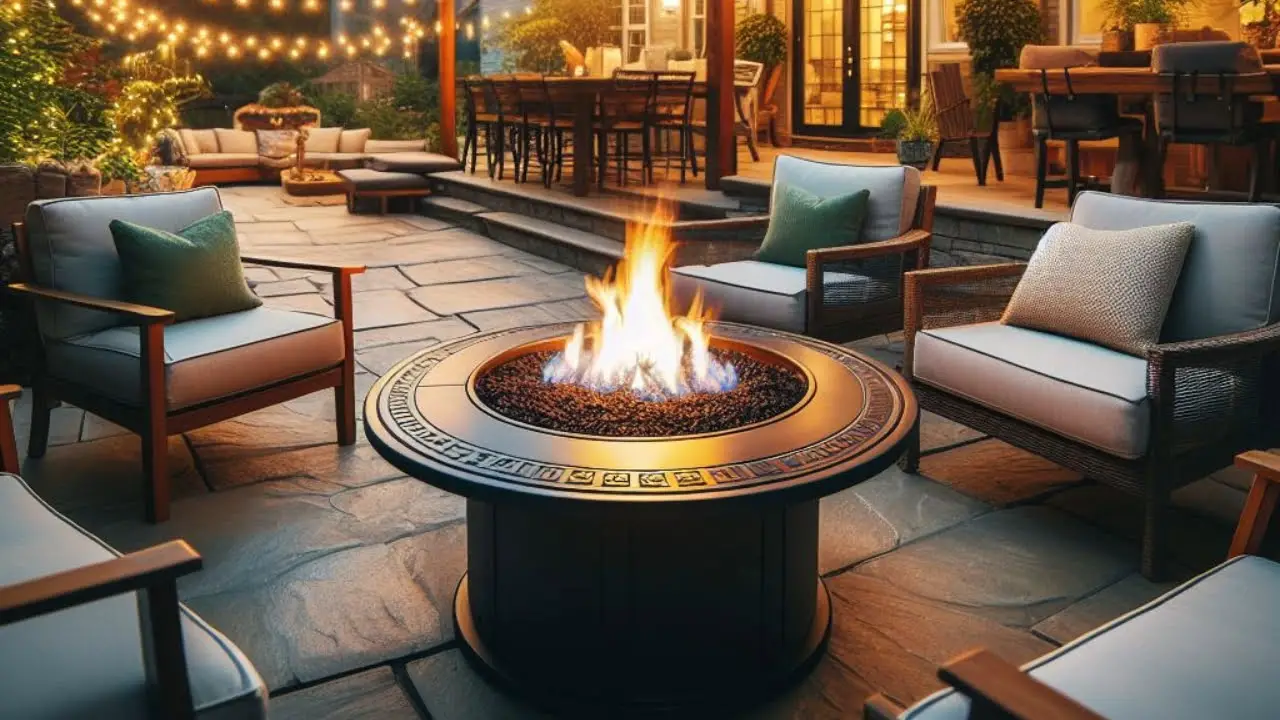
When setting up your fire pit consider adding seating to create an inviting space for loved ones to gather, unwind and enjoy each other’s company. Opt for seating that can withstand tough weather conditions and is long lasting and promotes easy conversation and relaxation.
Lighting
Elevate the atmosphere of your fire pit space with chosen lighting options. From fairy lights and lanterns, to LED fixtures lighting can bring coziness, dimension and visual appeal to your area extending its use well into the night.
Heat Output
Boost the warmth output and efficiency of your fire pit by using accessories like heat reflectors, wind barriers and fire pit lids. These additions help trap and distribute heat efficiently allowing you to enjoy the fire pit comfortably on chilly evenings or breezy days.
Cooking Features
Turn your fire pit into a cooking hob with accessories such as grill grates, rotisserie kits and pizza ovens. These features enable you to whip up meals and snacks over a flame introducing an exciting culinary aspect to your outdoor get togethers.
By adding these upgrades and accessories to your propane fire pit arrangement you can craft a retreat that aligns with your individual tastes and lifestyle.

Conclusion
Creating your propane fire pit can be a project that adds warmth and charm to your outdoor area. Simply follow the steps attentively, prioritizing safety and reflecting your taste. Whether selecting the location or incorporating touches each stage allows for a touch of creativity. Safety should always come first! Be sure to adhere to all instructions and recommendations to maintain the safety and enjoyment of your fire pit for years to come. So roll up those sleeves, gather your supplies and prepare for evenings and joyful gatherings around your fire feature!
FAQs
Can I make my own propane fire pit?
Absolutely! You can craft your own propane fire pit using readily available materials like a burner kit, propane tank, and fire-resistant materials for the pit enclosure. Following safety guidelines and instructions is key.
How to build a propane fire pit with pavers?
Building a propane fire pit with pavers involves laying a sturdy base of gravel or sand, positioning the burner kit securely, and arranging pavers around the perimeter for both aesthetics and stability. Ensure proper ventilation and adherence to local regulations.
Does a propane gas fire pit need a gas line?
Yes, propane gas fire pits require a gas line connection to fuel the flames. This connection ensures a steady supply of propane to sustain the fire.
Can you use a propane fire pit without rocks?
While you can operate a propane fire pit without rocks, using fire media like lava rocks or fire glass can improve both the visual appeal and efficiency of the pit and they also provide protection. These materials help distribute heat more evenly and create a more attractive flame pattern.
